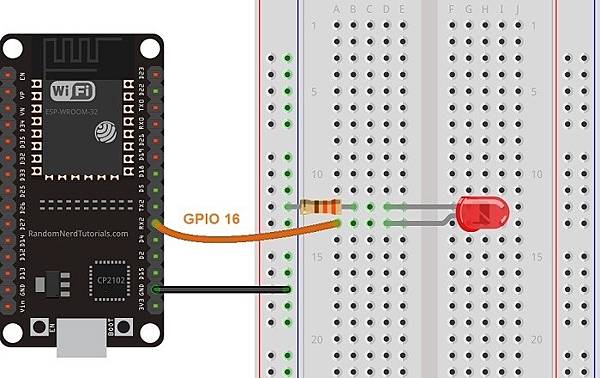
用ESP32 PWM實現LED慢慢亮起。
程式的部份主要分成三個:1.設定頻道LEDchannel、2.附加到PIN腳、3.決定輸出大小。網站架設
1.設定頻道LEDchannel屬性
ledcSetup(LEDChannel, freq, resolution);
//LEDChannel設定為0,不同輸出要設定到不同頻道,例如RGB LED就要開三個頻道分別管理R、G、B
//freq輸出頻率,建議值5000 Hz
//resolution代表輸出解析度,例如8代表0-255,10代表0-1023
2.附加到PIN腳
ledcAttachPin(ledPin, LEDChannel);
//ledPin代表腳位,看你把設備接在哪個腳位上面
//LEDchannel代表步驟1所宣告的LEDchannel,也就是說把設定好的LEDchannel屬性附加到某個腳位上
3.決定輸出大小。
ledcWrite(LEDChannel, dutyCycle);
//將LEDchannel輸出dutyCycle的值。網站架設
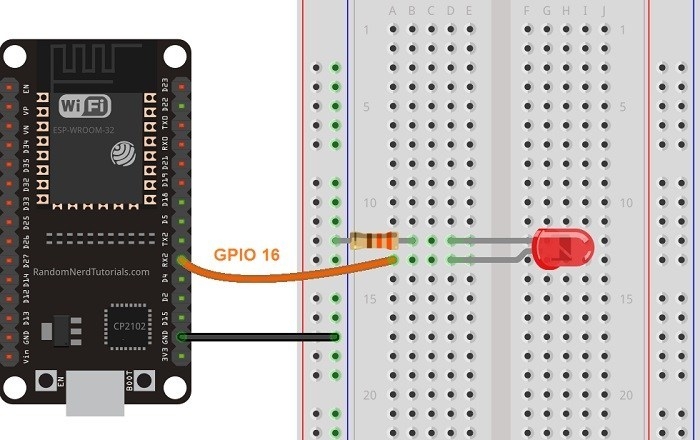
範例程式將使接在Pin16的LED逐漸亮起並熄滅,範例複製於 https://randomnerdtutorials.com/esp32-pwm-arduino-ide/


- // the number of the LED pin
- const int ledPin = 16; // 16 corresponds to GPIO16
-
- // setting PWM properties
- const int freq = 5000;
- const int ledChannel = 0;
- const int resolution = 8;
-
- void setup(){
- // configure LED PWM functionalitites
- ledcSetup(ledChannel, freq, resolution);
-
- // attach the channel to the GPIO to be controlled
- ledcAttachPin(ledPin, ledChannel);
- }
-
- void loop(){
- // increase the LED brightness
- for(int dutyCycle = 0; dutyCycle <= 255; dutyCycle++){
- // changing the LED brightness with PWM
- ledcWrite(ledChannel, dutyCycle);
- delay(15);
- }
-
- // decrease the LED brightness
- for(int dutyCycle = 255; dutyCycle >= 0; dutyCycle--){
- // changing the LED brightness with PWM
- ledcWrite(ledChannel, dutyCycle);
- delay(15);
- }
- }
複製代碼
影片演示
文章出處:網頁設計,網站架設 ,網路行銷,網頁優化,SEO - NetYea 網頁設計
文章定位:


